
Installation
Install cPanel Redis Manager on a supported server with the public one-line deployment command.
Open sectionThis documentation covers installation, upgrades, uninstall, configuration, CloudLinux guidance, roadmap details, and release history for cPanel Redis Manager. It is written for server owners, administrators, developers, and hosting teams who need clear deployment and operating guidance for Redis inside cPanel and WHM.
Install cPanel Redis Manager on a supported server with the public one-line deployment command.
Open sectionRemove the Redis Manager plugin cleanly using the documented uninstall workflow.
Open sectionReview Redis-compatible backend selection, memory settings, eviction policies, presets, and deployment behavior.
Open sectionChoose Redis, Valkey, or Auto-detect from WHM and review backend diagnostics before changing accounts.
Open sectionEnable the Redis PHP extension correctly with CloudLinux, Select PHP Version, and CageFS-aware hosting stacks.
Open sectionEvery WHM administrator function: accounts, backends, provider policy, packages, resellers, recovery, and branding.
Open sectionEvery cPanel user function: instance lifecycle, connection details, presets, backups, and application integration.
Open sectionSee the current public release position, next milestone, and the planned direction for Redis Manager.
Open sectionReview recent product releases, public rollout updates, and the features already delivered.
Open sectionFollow the upgrade path for in-place updates, legacy reinstall cases, and post-upgrade verification.
Open sectionStart with installation, review upgrade and uninstall guidance, understand configuration and CloudLinux behavior, and follow the current roadmap and release history from one place.
Follow the installation flow to validate your license, deploy the cPanel and WHM components, and prepare Redis Manager for production use.
Use the documented upgrade path for in-place updates, legacy reinstall cases, and post-upgrade verification when moving to the latest public version.
Use the approved uninstall workflow to remove the Redis Manager plugin and related components without guessing through server paths or manual cleanup steps.
Review how Redis Manager handles defaults, presets, memory settings, and deployment behavior so you know what to expect after installation.
CloudLinux guidance explains how to use Select PHP Version, CageFS refreshes, and the Redis extension so applications can connect properly.
See the current public rollout, the next planned milestone, and the recent changes already delivered in the live Redis Manager package.
Important: A valid license is required before installation. Run the installer as root on a supported cPanel and WHM server.
Order cPanel Redis Manager for your server. Once activated, you will receive your Redis Manager license key and the installation command for deployment.
Before installing, make sure the server is running a supported cPanel and WHM environment with root SSH access, a supported operating system, and enough available memory for Redis or Valkey workloads.
Applications will still need the Redis PHP extension enabled in the PHP versions they use. On EasyApache systems, install the matching ea-phpXX-php-redis packages, our installer will try to install them first. On CloudLinux, enable redis in Select PHP Version.
Execute the provided installation command over SSH as root. The installer validates the license, deploys the cPanel and WHM plugin files, installs required components, applies migrations, and prepares the Redis Manager runtime automatically.
After installation, confirm the WHM interface is available for administrators and that Redis Manager appears inside cPanel for supported accounts. This confirms the plugin deployment and registration completed correctly.
Open Redis Manager in cPanel to initialize an instance, review connection details, apply a preset if needed, and begin using the selected Redis-compatible backend with your website or application.
Update your application to use the host, port, password, and database details shown in cPanel. Once connected, you can monitor activity, review usage, and manage backups directly from the plugin.
If your server is still using the first-generation Redis Manager module from before v2.0.3, remove the old cPanel plugin first before installing the current public release.
/usr/local/cpanel/scripts/uninstall_plugin /usr/local/cpanel/base/frontend/jupiter/redis_plugin --theme=jupiter
rm -rf /usr/local/cpanel/base/frontend/jupiter/redis_plugin
This removes the old module interface only. Your existing Redis data, configuration, ports, passwords, and running Redis instances stay intact during this cleanup. Once the legacy module is removed and the current Redis Manager version is installed, the product interface returns and your Redis environments continue normally.
Use the approved uninstall command to remove the Redis Manager plugin, services, and related components cleanly.
curl -sSL https://backup.underhost.com/mirror/redis/uninstall.sh | bash -s -- -yUse this command when you need to fully remove Redis Manager before reinstalling, migrating, or resetting the server environment.
cPanel Redis Manager is designed for real hosting environments with predictable behavior, clear control panel visibility, and minimal need for manual tuning after deployment.
Valkey is an open source Redis-compatible in-memory cache server. As of v2.4.1, the installer selects Valkey for fresh installs on newer operating systems (AlmaLinux/CloudLinux/Rocky 10) and where Redis packages are unavailable or unsupported; AlmaLinux/CloudLinux 8/9 and Ubuntu stay on Redis. Existing Redis installations stay on Redis unless an administrator explicitly changes backend policy.
 Valkey is a Linux Foundation project. Logo shown for compatibility context only.
Redis Manager provides the Redis service and control panel workflow, but applications still need the Redis extension or client library enabled in the PHP versions they use.
Most deployments work well with default settings. Review memory usage, application behavior, and traffic patterns before applying targeted configuration changes for heavier workloads.
WHM is where administrators manage the whole server: accounts, backend selection, provider policy, packages, resellers, recovery, and branding.
Each hosting account manages its own cache instance from cPanel: lifecycle, connection details, tuning, backups, and application integration.
Administrators define backend selection, package and reseller limits, and enforcement mode in WHM. Those decisions are propagated to each account, and the cPanel plugin operates within them: it provisions on the chosen backend, honors package and reseller limits, and shows the interface level the provider allows. Existing Redis accounts are always preserved, and enforcement is report-only until an administrator opts in.
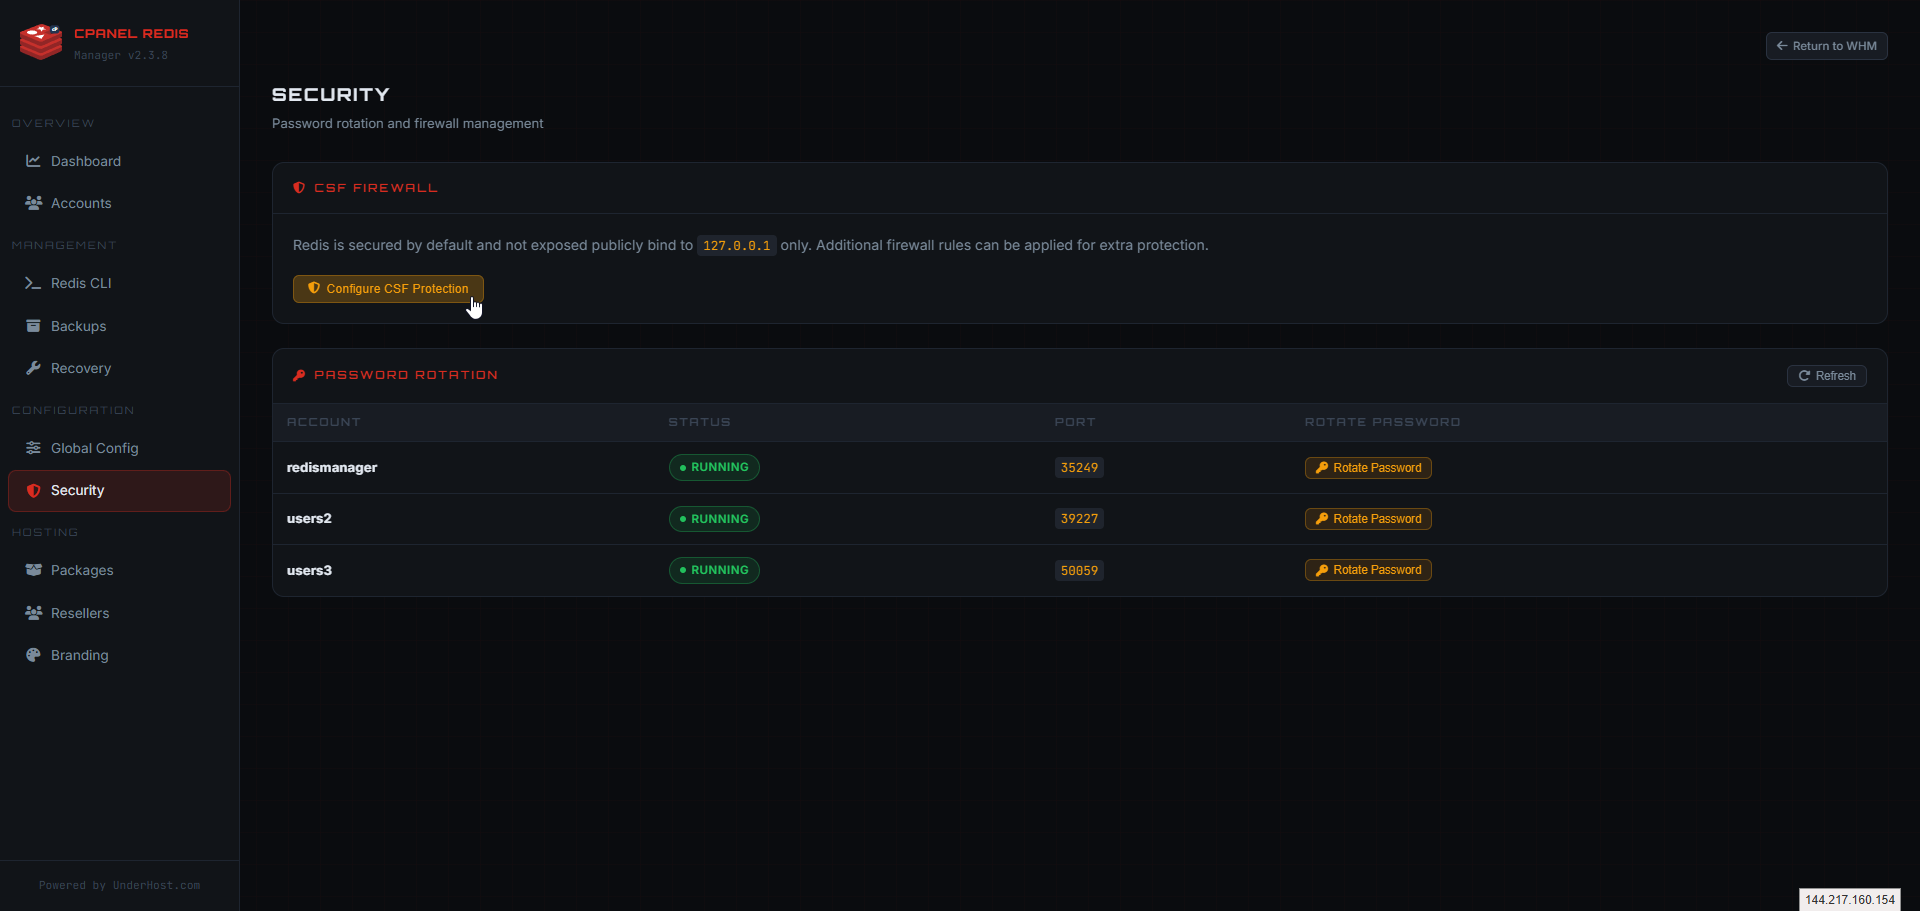
cPanel Redis Manager provides the Redis service, cPanel workflow, and WHM management tools. CloudLinux still controls how the Redis extension is exposed inside customer PHP environments.
This roadmap includes the active public release, the shipped adoption releases, the Redis-compatible backend milestone in v2.4.1, and the longer-term product direction beyond it.
The current line adds security, abuse prevention, and licensing automation on top of Redis and Valkey support. Everything is additive and report-only or fail-safe by default, so existing accounts are preserved and nothing changes until an administrator opts in.
A stability line driven by real-world reports. v2.6.8-v2.6.11 remove latency spikes under memory pressure, make license and dashboard behavior resilient, and make per-account and global memory configuration apply reliably.
Observability and debugging: deeper monitoring and graphs, a debug mode, a WHM Security tab that surfaces the abuse, credential, and auth reports, and stronger health scoring.
The live product is built on top of multiple completed phases covering the original public baseline, installer and migration improvements, WHM integration, stronger account controls, and hosting foundation features.
cPanel Redis Manager is available at $4.95 per server per month or $49.50 per server per year, while future milestones expand provider controls, package governance, and commercial Redis hosting features.
Public baseline release with isolated per-account Redis instances, automatic port assignment, AUTH generation, and core lifecycle controls.
Foundation rewrite that improved process handling and introduced the installer and migration path used by later releases.
WHM plugin release with server-wide dashboard, account controls, backup tools, recovery features, and global management foundations.
Internal hardening release with safer write paths, stronger validation, tighter access control, and audit logging improvements.
User control and stability series adding monitoring, presets, backup and restore, safe config editing, and stronger health-aware instance handling.
Hosting foundation series introducing package controls, reseller groundwork, branding, usage history, release hardening, and public observability improvements.
Redis and Valkey compatibility foundation: backend abstraction, OS-aware backend selection, WHM backend selector, diagnostics, and migration-readiness checks, plus Recovery Tools and installer maintenance.
Provider enforcement and monetization: package-tier availability enforcement, reseller quotas, monetization hooks, exposure modes, and guided Redis-to-Valkey migration. Report-only by default.
Security, abuse prevention, and licensing automation: report-only abuse detection, AUTH protection, signed and database-backed licensing with WHMCS automation, a much faster WHM dashboard, branding expansion, and the v2.6.8 stability patch.
These later phases show how Redis Manager is expected to expand after the current hosting-control and monetization milestone.
Advanced graphs, drill-down visibility, debug mode, slowlog tooling, command visibility, improved health scoring, and stronger support telemetry.
Background worker framework, restart backoff, auto-healing behavior, orphan cleanup, and system maintenance automation.
Profile systems, config bundles, stronger backup rollback flows, integrity improvements, export and import between servers, and signed configuration validation.
REST API foundation, webhooks, automation events, Redis version management, and external Redis integration.
Shared architecture preparation, DirectAdmin support, and cluster, Sentinel, and scaling-oriented deployment features.
Review the latest shipped updates in the public release line, including new features, observability improvements, deployment changes, and public rollout updates.
2026-09-14 - Global default memory and per-account changes apply
2026-09-14 - Config changes now apply reliably
2026-09-14 - Config-ownership fix for v2.6.8
2026-09-14 - Stability and visibility under load
2026-07-21 - Branding expansion and installer resilience
2026-07-20 - WHM dashboard performance
2026-07-19 - WHM account-load fix
2026-07-19 - AUTH protection and rate limiting
2026-07-18 - Resource abuse detection (report-only)
2026-07-18 - Signed and database-backed licensing
2026-07-17 - Provider Enforcement and Monetization
2026-07-13 - Installer maintenance
2026-07-01 - Recovery Tools reliability
2026-06-24 - Redis and Valkey Compatibility Release
2026-06-13 - Recovery session guidance
2026-06-13 - CloudLinux-safe session diagnostics
2026-05-15 - WHM plugin session repair
2026-04-30 - Connection helper, app detection, preflight, and diagnostics
2026-04-28 - CageFS network namespace fix
2026-04-26 - Redis Health Score and Smart Suggestions
2026-04-23 - Historical graphs and public site refresh
2026-04-23 - Hardening and release integrity
2026-04-22 - Public rollout for the hosting foundation series
Earlier releases introduced the installer, WHM integration, account controls, backup and restore, configuration safety, hosting foundations, and the architecture used by the current Redis Manager package.
Hosting foundation series introducing package controls, reseller groundwork, branding features, usage history foundations, centralized licensing, and stronger migration reliability.
User-control and stability series adding validated configuration editing, backup and restore workflows, health-aware monitoring, and tighter permission enforcement.
WHM introduction and hardening cycle with server-wide controls, account management, backup and recovery tools, logging improvements, stronger validation, and tighter access control.
Public baseline followed by the foundation rewrite that introduced the installer-driven migration path used by the current Redis Manager architecture.
First commercial public release, marking the point where UnderHost began offering cPanel Redis Manager as a product for sale.
Initial internal release used only on UnderHost-managed servers and managed customer environments before the public product line began.
This documentation covers installation and server management, but the next step is enabling Redis inside the applications that will actually use it. Use the integration guidance for WordPress, WooCommerce, Laravel, Magento, custom PHP sites, APIs, and session-based apps, then follow the roadmap, changelog, and upgrade guide as your deployment evolves.
Once Redis Manager is installed, the next step is connecting your application to the Redis instance created in cPanel. Use the Redis host, port, password, and database details shown in cPanel exactly as provided.
Use Redis for object caching to reduce repeated database queries, improve page speed, and keep busy WordPress and WooCommerce sites more responsive.
Laravel can use Redis for application cache, sessions, queues, and other framework features that benefit from fast in-memory storage.
Magento can use Redis to improve caching behavior, backend responsiveness, and repeated data access for larger storefront workloads.
Custom PHP applications can use Redis for sessions, caching layers, tokens, queues, and other repeated data operations that should stay fast.
Node and Python applications can use Redis for caching, session storage, queue workflows, and repeated request optimization using the connection details provided by Redis Manager.
Redis can help APIs, admin dashboards, and internal tools reduce backend load and improve response times for repeated requests.
Each Redis instance provides the host, port, password, and database details needed for application setup. Replace the placeholder values below with the exact values shown in Redis Manager.
Redis Manager provides the Redis service and connection details. Your application must still be configured to use Redis for object caching, sessions, queues, or repeated data access.
Replace the example values below with the Redis host, port, password, and database shown in your Redis Manager cPanel interface.
define('WP_REDIS_HOST', '127.0.0.1');
define('WP_REDIS_PORT', 6379);
define('WP_REDIS_PASSWORD', 'your_redis_password');
define('WP_REDIS_DATABASE', 0);
Install a Redis object cache plugin, add these values to wp-config.php, then enable object cache from the WordPress admin area.
CACHE_STORE=redis
SESSION_DRIVER=redis
QUEUE_CONNECTION=redis

REDIS_CLIENT=phpredis
REDIS_HOST=127.0.0.1
REDIS_PASSWORD=your_redis_password
REDIS_PORT=6379
REDIS_DB=0
Update your Laravel .env file, then clear and rebuild configuration cache if needed.
'cache' => [
    'frontend' => [
        'default' => [
            'backend' => 'Cm_Cache_Backend_Redis',
            'backend_options' => [
                'server' => '127.0.0.1',
                'port' => '6379',
                'password' => 'your_redis_password',
                'database' => '0',
            ],
        ],
    ],
],
Magento Redis configuration can vary by version and use case, but this shows the standard cache backend structure.
<?php
$redis = new Redis();
$redis->connect('127.0.0.1', 6379);
$redis->auth('your_redis_password');
$redis->select(0);

$redis->set('test_key', 'Hello Redis');
echo $redis->get('test_key');
This is the simplest way to connect from a PHP application using the phpredis extension.
const { createClient } = require('redis');

const client = createClient({
  socket: {
    host: '127.0.0.1',
    port: 6379
  },
  password: 'your_redis_password',
  database: 0
});

client.on('error', (err) => console.error('Redis Client Error', err));

(async () => {
  await client.connect();
  await client.set('test_key', 'Hello Redis');
  const value = await client.get('test_key');
  console.log(value);
  await client.quit();
})();
Use this pattern for Node applications that need Redis for caching, sessions, or job queues.
import redis

r = redis.Redis(
    host='127.0.0.1',
    port=6379,
    password='your_redis_password',
    db=0,
    decode_responses=True
)

r.set('test_key', 'Hello Redis')
print(r.get('test_key'))
Use this pattern for Python apps, APIs, workers, and background tasks that need Redis access.